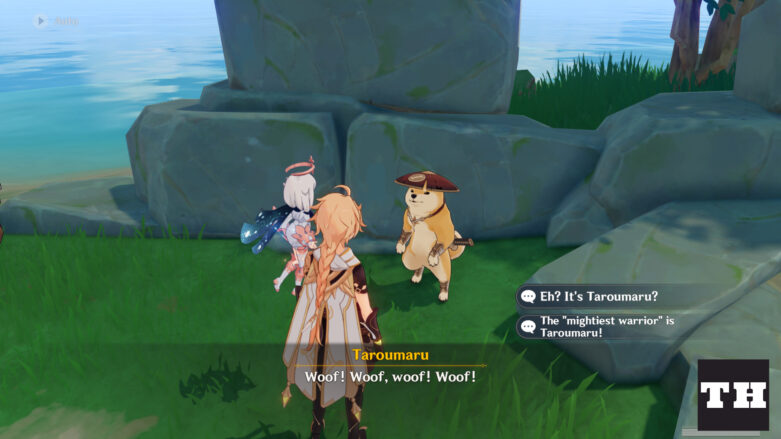
Genshin Impact’s adorable Shiba Inu of the Komore Teahouse, Taroumaru, surprises players as he appears to be the Mightiest Warrior in the Hues of the Violet Garden event. Taroumaru is the last opponent you will be facing in the Clash of Lone Blades – an event mini-game where players will battle four different warriors under a time limit. Players may earn rewards based on their chosen difficulty level – Serious, Dire, and Perilous. Know about Taroumaru’s attack pattern in each difficulty level and how to counter them in this guide!
Taroumaru’s fighting techniques
To defeat Taroumaru in every difficulty in the Clash of Lone Blades event, you must understand his attack pattern and get the right timing of using a Parry. Before you can challenge Taroumaru in a duel, you must at least defeat the other three warriors – Ookubo Sanzaemon, Yasuhiko Tarou, and Mishima Michitoshi, in the Serious difficulty level. Afterward, talk to Taroumaru to commence the battle.
While you could repeatedly hit Taroumaru to deal damage and dodge his attacks, this would take a significant amount of time and may not be sufficient under the given time limit. Learning how to perform a Perfect Parry against Taroumaru’s normal attacks and Honed technique would be more efficient as it can deal massive damage and even stun him. Taroumaru would have a Fury meter which fills up every time you perform Perfect Parries against his attacks. Once the Fury meter is full, he will use his powerful Honed technique, which is a powerful ramming attack. When you use Perfect Parry against Taroumaru’s Honed technique, he will take huge damage that may ultimately knock him down.

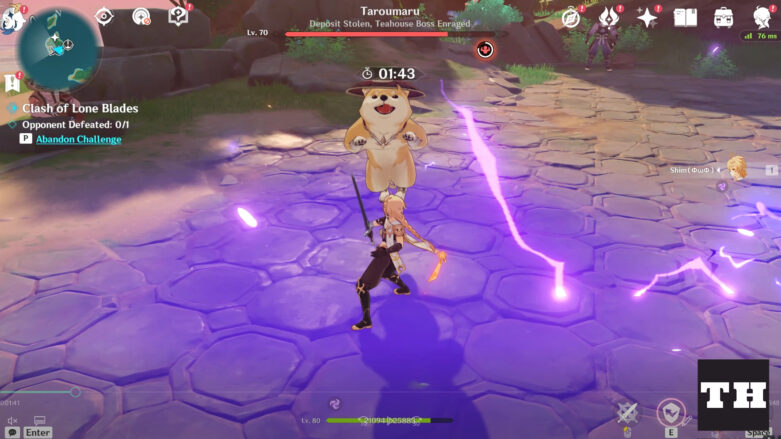
During Taroumaru’s Serious difficulty level, he will be a level 70 opponent. Every time he prepares to perform a normal sword attack and honed technique, the weapon will flash quickly. Use Parry right after the sword shines to deflect the attack. Taroumaru may also perform jumping Electro attacks in which he jumps and plants his sword on the ground, dealing AoE Electro DMG.
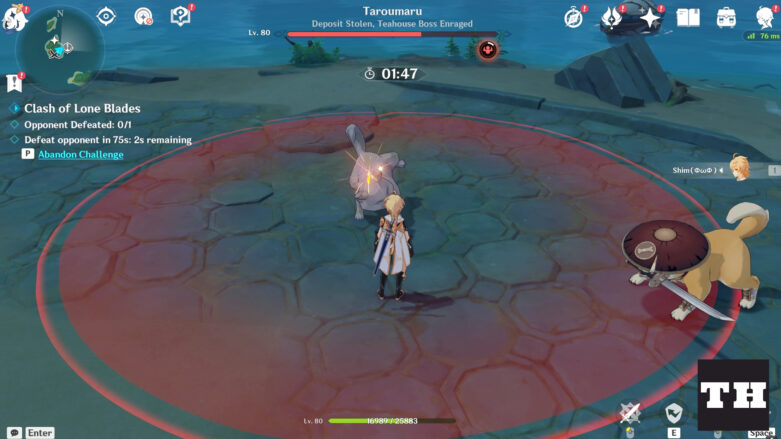
In Dire level, Taroumaru is a level 80 opponent. He will use the same attacks he performed in the Serious difficulty. To make it more challenging, he will perform AoE bomb attacks in which he jumps away and leaves an exploding statue with an expanding AoE, indicating the time it will explode.
Taroumaru will also accumulate Electro energy on his blade and launch a wave of Electro Slashes towards you. This may be perfectly parried by using Parry just after the Electro energy from his blade has disappeared. After performing a Honed technique, Taroumaru will leap into the air and execute a spinning strike. Parry immediately when he leaps to keep him down for a while so you can attack him easily.

Taroumaru’s Perilous difficulty will make him a level 90 opponent. It is regarded as the most challenging of all warriors’ Perilous difficulty levels. He will perform the same attacks as he did during the Serious and Dire levels, but he will be faster and more unpredictable. Taroumaru will always execute two attacks consecutively. He will begin his normal attacks with basic slashes, followed by a series of jump and quick slashes. Taroumaru will also perform consecutive Electro slashes, AoE Electro Jump and AoE explosion attacks. It is best to avoid his attacks at this difficulty level as it deals immense damage. However, if you can keep up with the Taroumaru’s speed, you may be able to parry his attacks and be rewarded Valor stacks, which assure your next attack will be a CRIT Hit, ultimately filling up his Fury meter.

That’s everything about Taroumaru’s attack patterns and techniques in the Clash of Lone Blades mini-game. If you want to learn more about the game, check out the Genshin Impact section of our website!
Comments